- Download and unzip the DK MySQL Kit zip package.
- First, select and right-click the Zip package (file format is dkMysqlKit_xxxx.zip), then select Extract All in the pop-up menu, as shown in the following figure:

- Then click the Extract button and decompression will begin, as shown in the following figure:
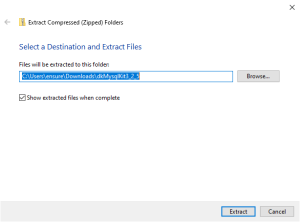
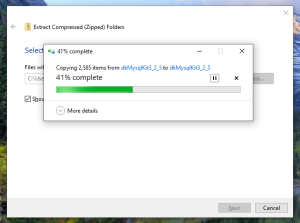
- Wait for a while, as shown in the figure below:
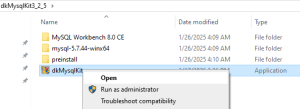
- Open the file dyiMysqlKit in the compressed folder, and the application will start, as shown in the following figure:
- Your Windows operating system needs to have Microsoft Visual C++ Redistributable installed, otherwise you will be prompted to install it, as shown in the figure below:
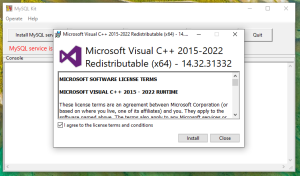
- After a moment, Microsoft Visual C++ Redistributable will be installed successfully, as shown in the figure below:”>After a moment, Microsoft Visual C++ Redistributable will be installed successfully, as shown in the figure below:

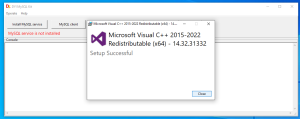
- If the MySQL service is not installed on your Windows system, you need to install MySQL first. as shown in the figure below:
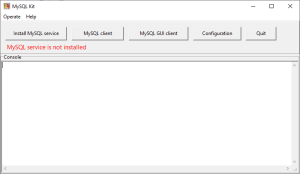
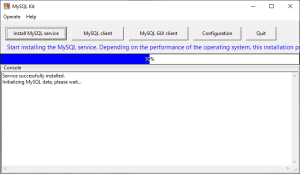
- Click the Install button to start installing the MySQL service, as shown in the figure below:
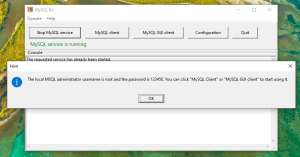
- After successful installation, you will be prompted for the default user and password of the local MySQL service, as shown in the figure below:
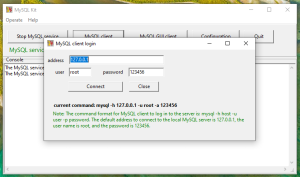
- Click the MySQL Client button, use the default value on the pop-up login page, and click the Connect button, as shown in the figure below:
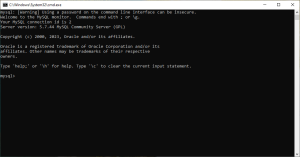
- The MySQL default client terminal will pop up, as shown in the figure below:
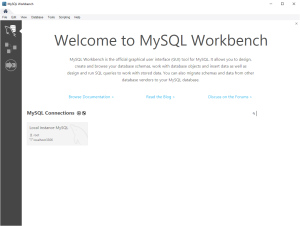
- You can also click the MySQL GUI client button to open the visual MySQL client

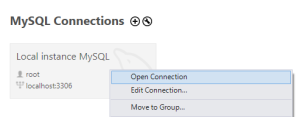
- Right-click Local instance MySQL and select the Open connection item in the pop-up menu, as shown in the following figure:
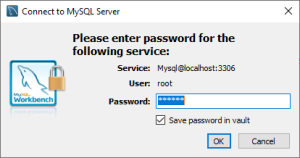
- Enter 123456 in the password text box, select the checkbox Save password in vault, and then click the OK button, as shown below:
- Sometimes there will be a Connection Warning with insufficient testing. Just select Don’t show this message again Checkbox, and then click the Continue Anyway button, as shown in the figure below:
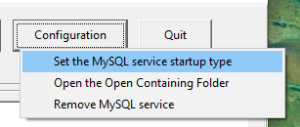
- Click the Configuration button and select the Set The MySQL service type item, as shown in the figure below:
- You can set the startup type of MySQL Service, as shown in the figure below:

- You can set it to: Automatic (delayed start), Automatic, Manual, or Disable based on frequency of use and system resources, as shown in the figure below:

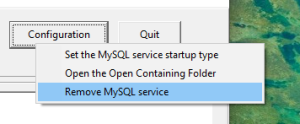
- You can also click the Configuration button, select the Remove MySQL Service item, and reinstall MySQLService at any time, as shown in the figure below:
Posted inDK Developer Kit
